This will teach you how to enter a new client/location along with adding associated managers, areas, and equipment
Add new client
1. From any Screen use the Client Button to head to the client detail window
Click on the new client button
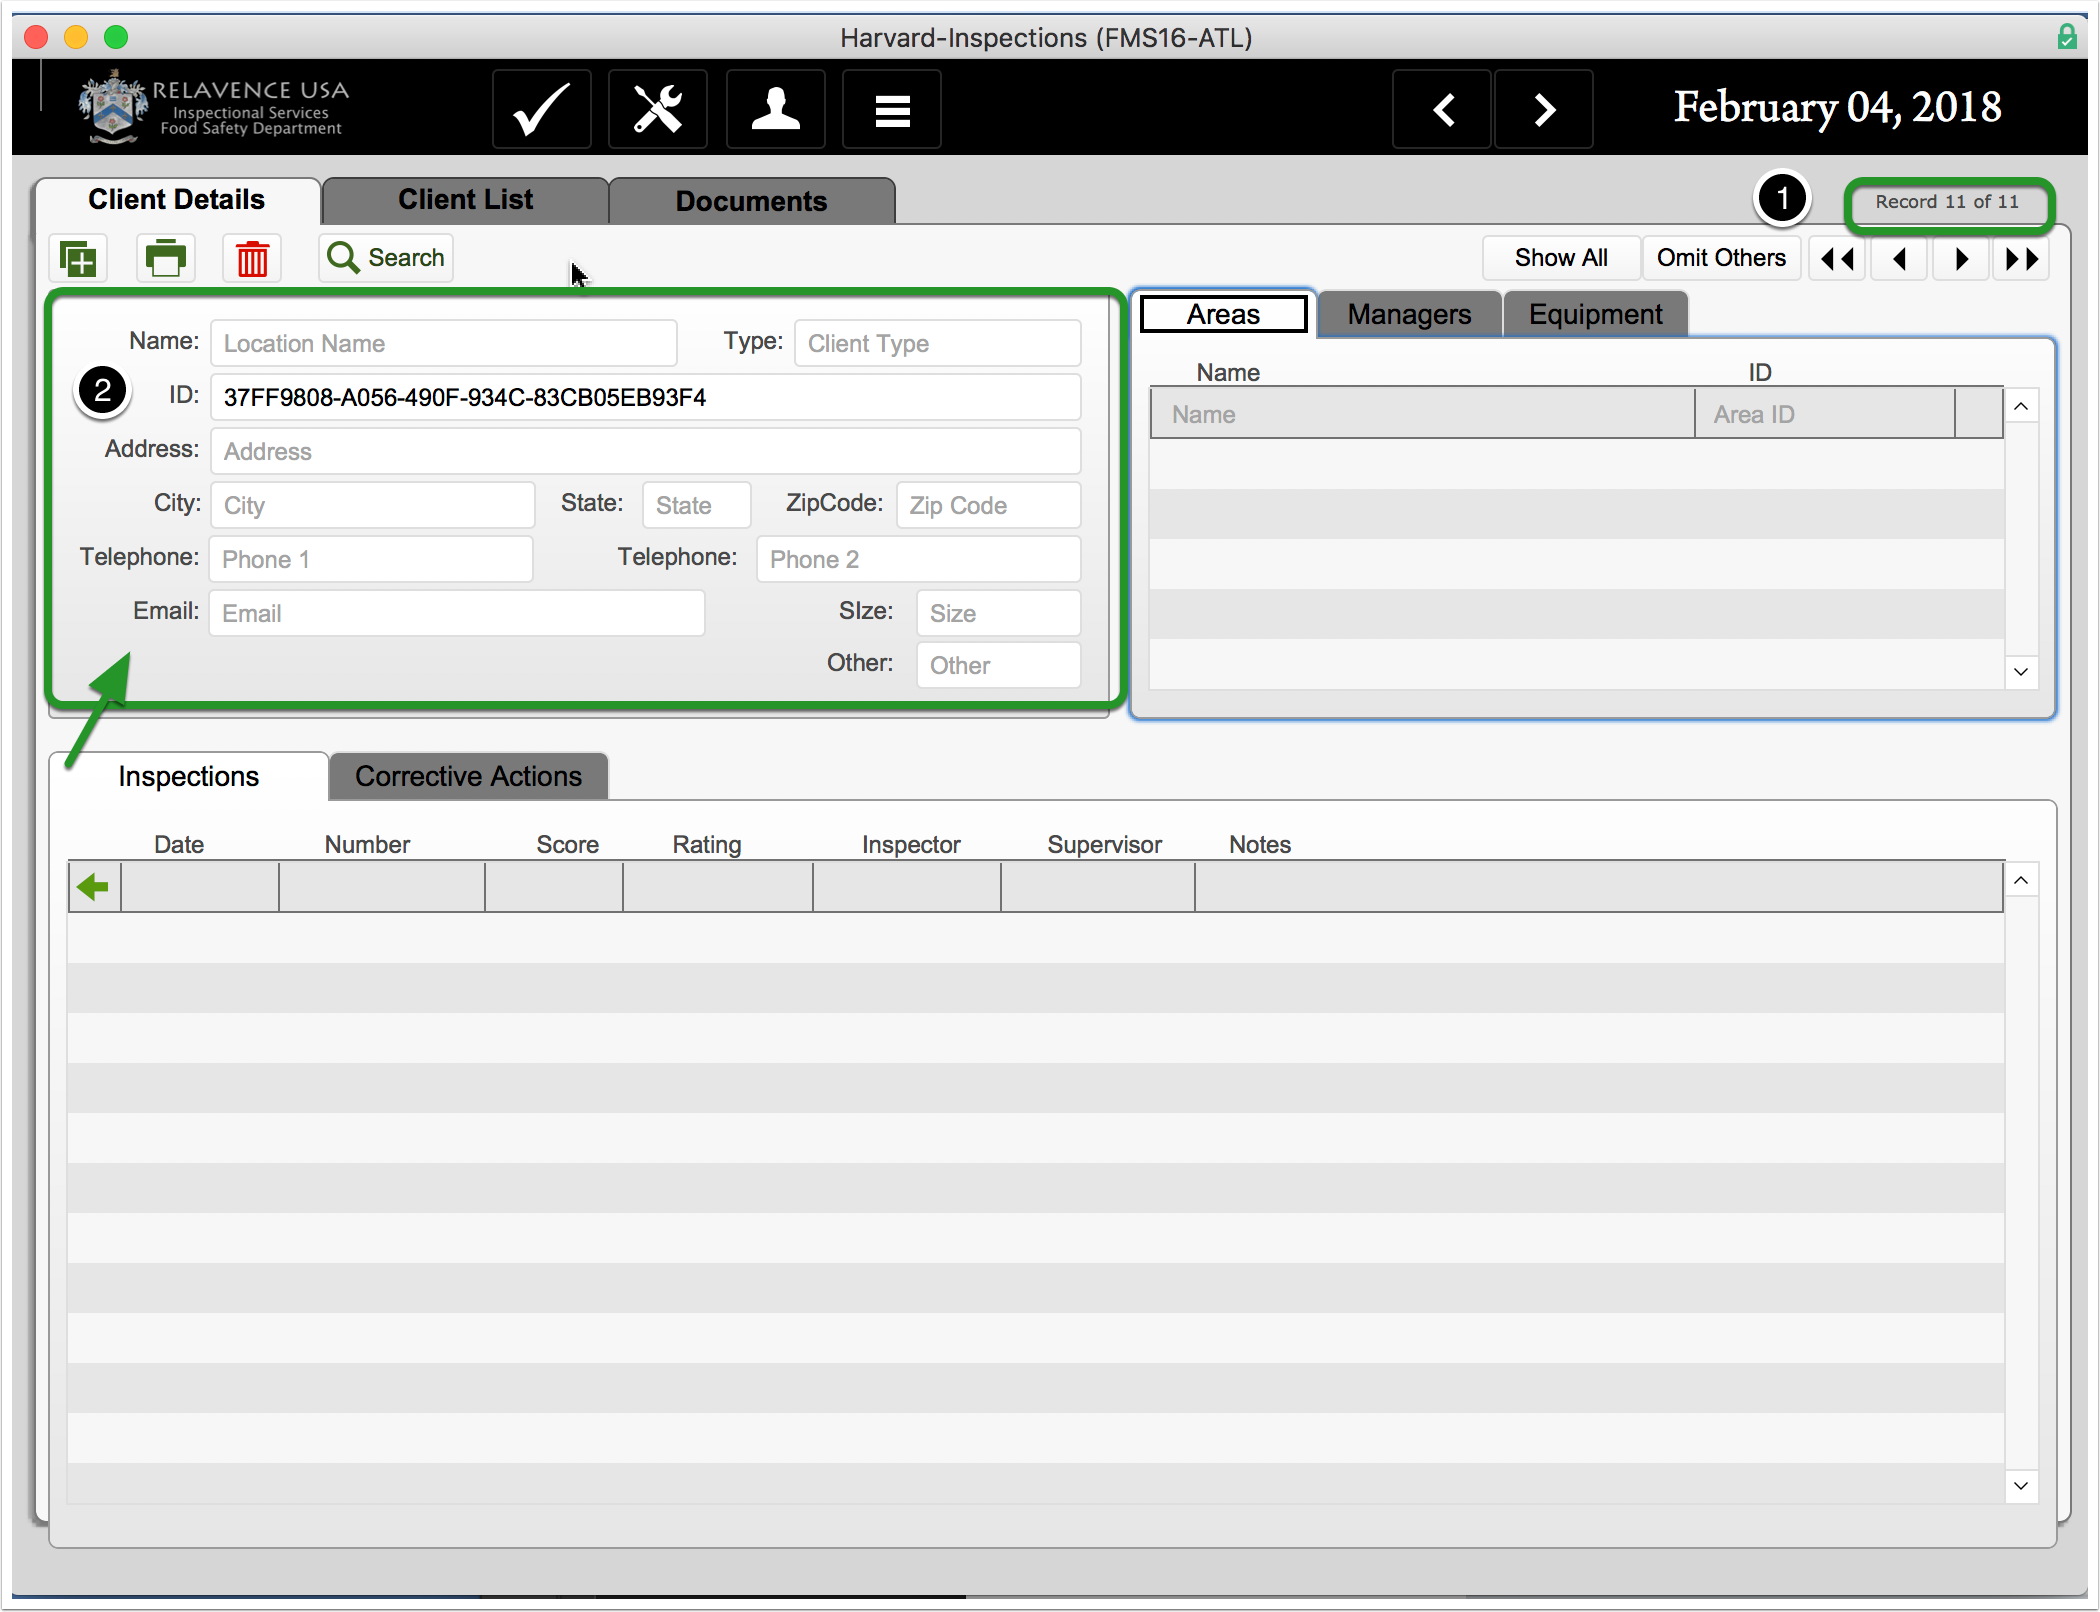
1. Notice that you are on record 1 of 10 total records
2. Click on the new client button

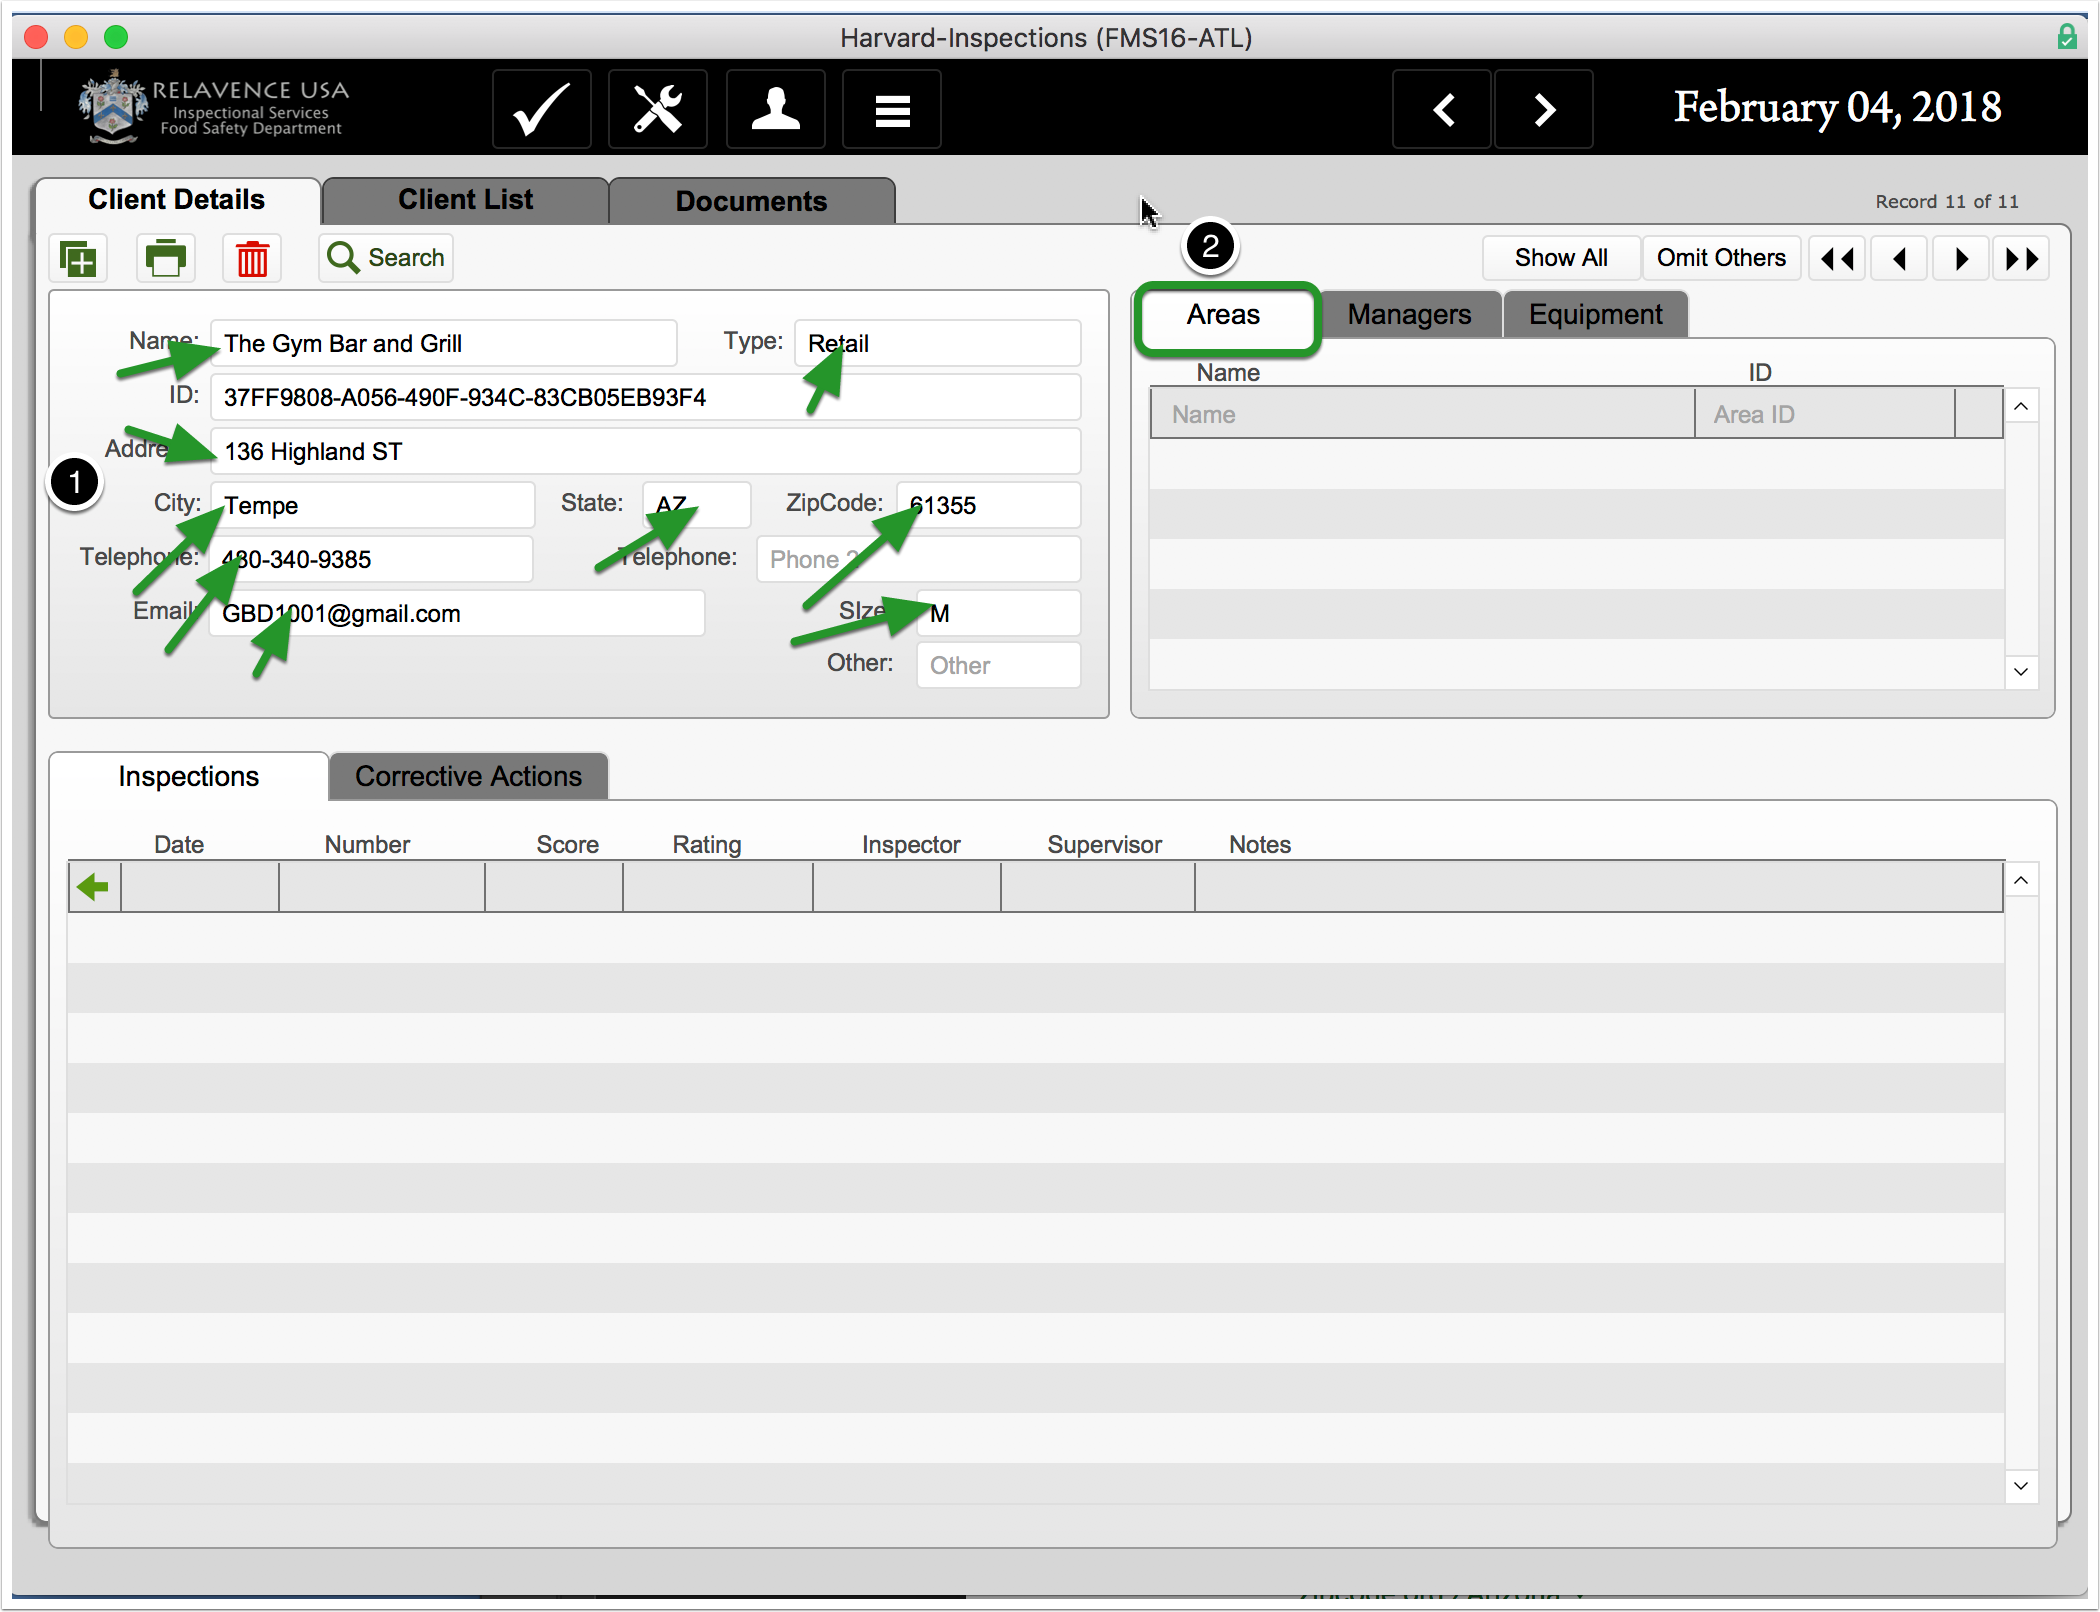
Fill in the client details
1. Notice how there are now 11 records
2. Now that you have a new record with a new Customer ID you need to fill in the details in the header area
Finishing the Clinet details and moving to areas
1. You entered the name of the establishment, type, address etc to complete this section.
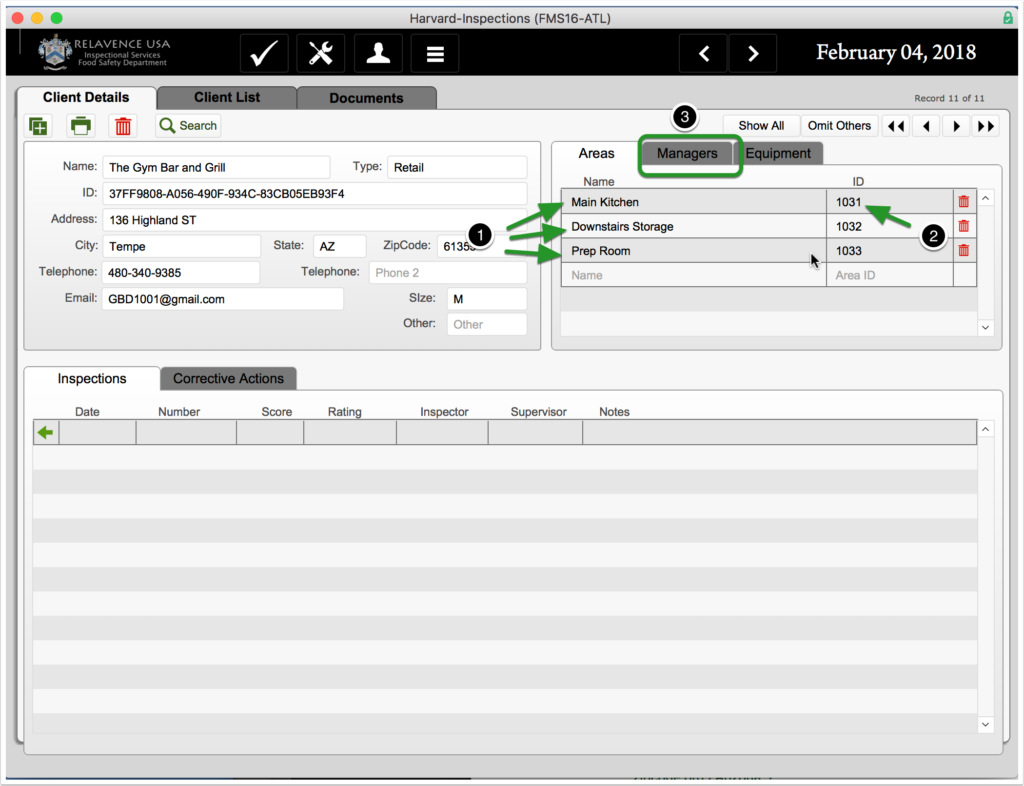
2. Now lets add some areas to this client by clicking on the “Areas” Tab
Add some client areas
1. Adding the areas you feel will be important to make note of during an inspection
2. The id field will be entered automatically
3. Once satisfied move on to entering the Managers or PICs for this location
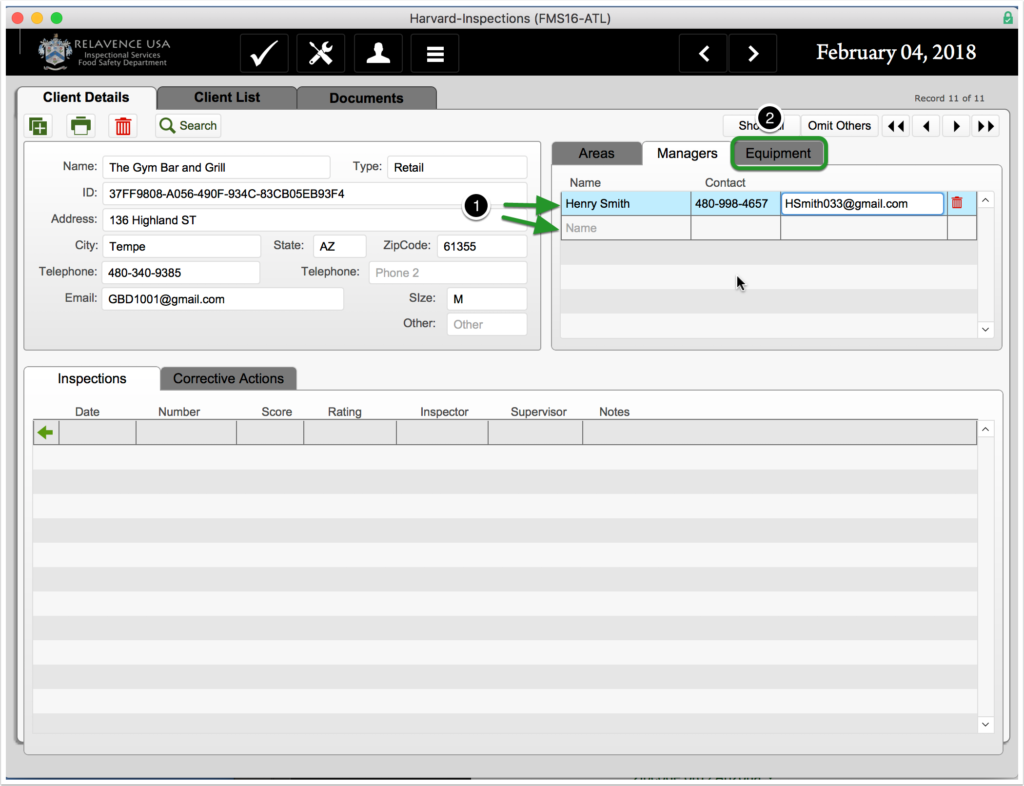
Add Manager (PIC) info
1. Enter full name, Phone, Email for each possible PIC
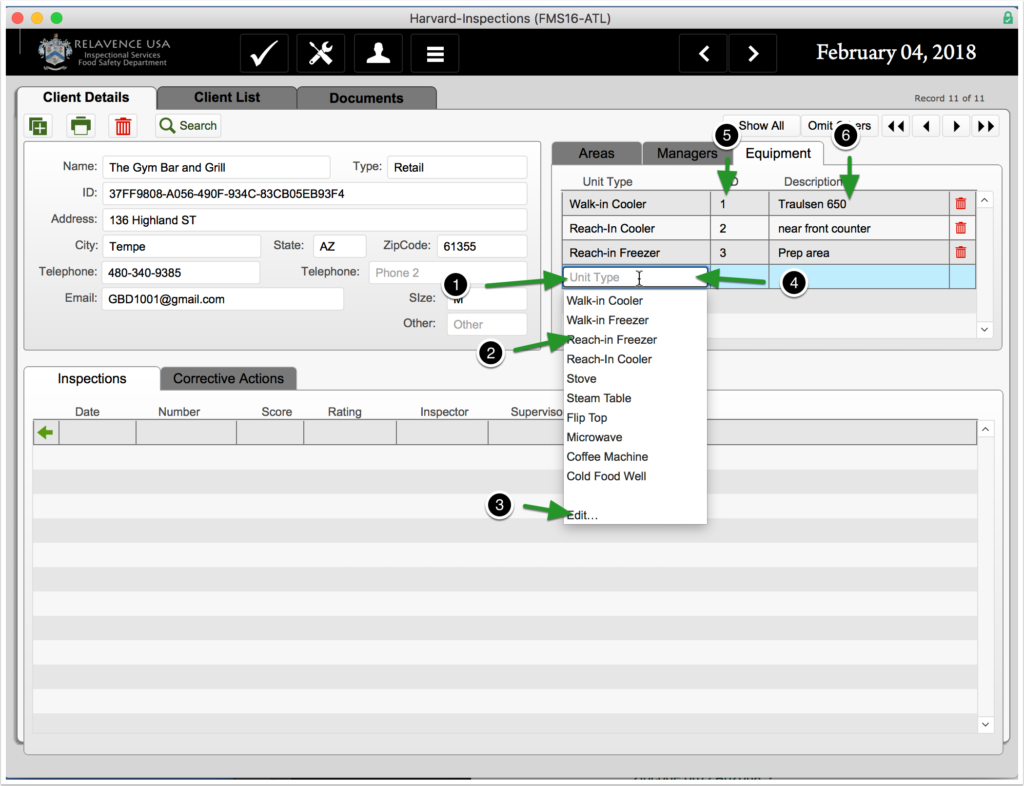
2. Click on the “Equipment” Tab to enter equipment found in this establishment
Add any equipment you would like to track
1. When you click into the “Unit Type” field a drop down of common items appear
2. Choose an item from the drop down list or…
3. or use the “Edit ..” link to add a new item that you would like to save on the common list
4. or type directly in the filed to create a new item that will not be saved on the common list
5. assign a unit ID ( Optional) some places label each unit
6. Add a description ( Optional) this could be a model number or simply a hint as to what location etc.
You’re done – remember to come back to this screen to add or change the client details. You should not change client details on other screens (like the inspection screen!)